Friday, March 28, 2014

FM153 Watercoloring with Hello Undefined

This week at Friday Mashup Sara has a great color combination and challenge for us. 


Here's this weeks challenge:
1. Create a project using Daffodil Delight, Wild Wasabi and Perfect Plum
2. Create a project using an Aqua Painter or a Blender Pen to create a water-colour effect
3. Create a project using the colors above and create a water-colour effect

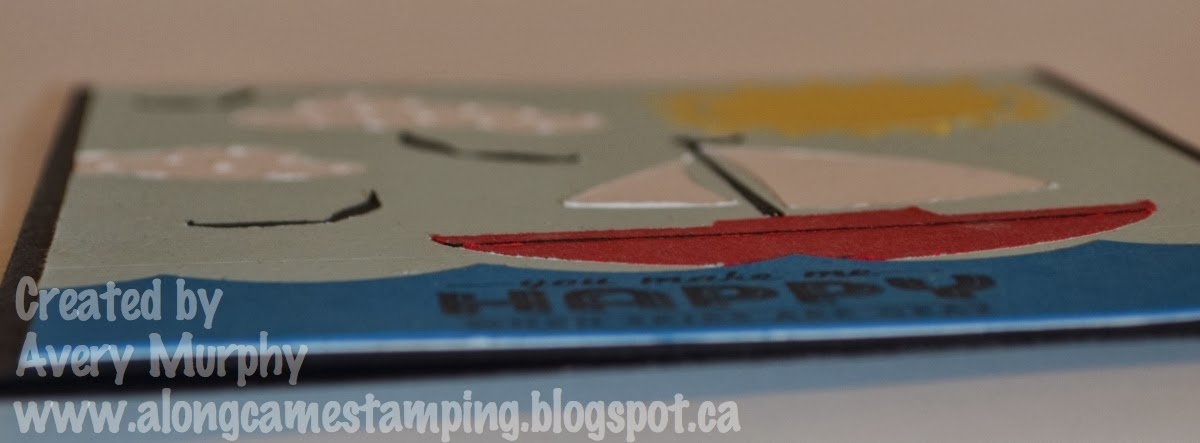
Here is the second card I made for Sara's challenge. I will share with you my first card within the next week but I was much happier with this card.

I finally got around to using the stamp I carved with Stampin' Up's undefined stamp carving kit.

I took the Hello from MDS and printed it in the size I wanted my stamp. From there I traced it onto Velum with pencil and then rubbed it onto the rubber and carved the stamp. Words are harder to carve but I love how it turned out.


To get the Hello to stand out, first I stamped the hello onto my water color paper in Versa Mark. Then I embossed the hello with clear embossing power. Then I used my Aqua painter to create the streaks across the page. 


Something really popular these days are the little enamel dots. They are fairly expensive and Stampin' Up doesn't sell them. So, I decided to make my own version. I punched out  circles in various sizes. Next I used my silicon craft sheet and applied crystal effects on the circles. Once the crystal effects dried they are a very cute, simple and cheap embellishment.


Stampset: Undefined Carved Stamp
Paper: Very Vanilla, Water Color, Gold Foiled
Ink: Daffodil Delight, Wild Wasabi and Perfect Plum, Versa Mark
Punches: Itty Bitty Shapes Punch Pack, Owl Builder
Tools: Heat Tool, Clear Embossing Powder, Aqua Painter
Accessories: Home made enamel dots using punched cardstock and Crystal Effects

Thursday, March 27, 2014

RS#107 Thinking of You Word Bubble

I haven't been creating with any of the challenge blogs I follow lately but as soon as I seen this sketch over at Retro Sketches I knew exactly what I wanted to create.

I have been using MDS and my Silhouette Cameo quite a bit lately and this sketch was a perfect excuse to use my Cameo.


I absolutely love the Retro Fresh colors and the negative of the thought bubble was the perfect place to use the Retro Fresh Washi tape.

Thank you Arielle for this sketch, I love it!

Stampset: Sweet Essentials
Paper: Very Vanilla, Coastal Cabana, Baked Brown Sugar
Ink: Tangerine Tango
Tools: Silhouette Cameo, MDS
Accessories: Washi Tape

Friday, March 21, 2014

FM152 One Layer Card with Cameo

After getting the Silhouette Cameo I am addicted to creating cards with it and the MDS files. 

Lisa's challenge at Friday Mashup was a perfect challenge for me to bring out my Cameo again. I have no nautical stamp sets so I opted to use the nautical themed SVG files in MDS. 

Here's this weeks challenge over at Friday Mashup:


1. Create a project using a nautical theme
2. Create a one layer card
3. Mash it up and create a one layer card using a nautical theme


The birds and clouds are from "Keep This Memory". The sail boat and the sun are from "On the Go". I created the waves by using the Large Scallop Edgelits die. 

To make sure my card was one layer I inlaid all the cut outs. Also, as you might have noticed the sun is slightly different in my card that it appears in MDS. What I had to do was join all the small triangles together in the Silhouette software so that the rays were all one piece. This made assembly of my card much easier. 


Stampset: See Ya Later
Paper: Pacific Point, Daffodil Delight, Real Red, Whisper White, Soft Sky
Ink: Staz On
Bigshot: Large Scallop Edgelits Die, Perfect Polka Dots Embossing Folder
Tools: Silhouette Cameo, Silhouette Designer Edition Software, MDS SVG files (Keep This Memory & On the Go)

Saturday, March 15, 2014

FM151 You Make Me Smile

We have a fantastic challenge over at Friday Mashup this week. The challenge gave me the perfect opportunity to use my new Silhouette Cameo. I love the Cameo because it works with all the files we get for MDS (My Digital Studio). The file I used was from the Stampset "My Friend". 

To create my card all I did was sponge a piece of Whisper white with the different rainbow colors. Then I imported the stamp into the Silhouette software, told the software to cut out the image and Tada! (there are a few other minor steps but using the Cameo really is super easy!


Here's the Friday Mashup Challenge this week:
1. Create a project using the Sketch
2. Create a project with Rainbow or Rainbow Colors
3. Mash it up and Create a project with the sketch using Rainbows or Rainbow colors.


Stampset: My Friend (Digital), Perfect Pennants
Paper: Whisper White
Ink: Real Red, Pumpkin Pie, Daffodil Delight, Gumball Green, Island Indigo, Rich Razzleberry
Bigshot: Banner Framelits
Tools: Silhouette Cameo
Accessories: Basic Rhinestones

Sunday, March 9, 2014

FM150 Masculine Card

Holly has a great challenge for us over at The Friday Mashup. This card was easy to make because I knew exactly who I was creating for. I find when I have someone in mind my cards come together easier.

Here's the challenge this week:


1. Create a Masculine project
2. Create a project with some stitching/sewing on it
3. Mash it up and create a masculine project with stitching/sewing on it


To get the stitching I took the very vanilla bakers twine and pulled it apart. I used only two small strings of it to hand stitch the card, after piercing the paper.

Stampset: Hardwood Background Stamp, Your Amazing
Paper: Island Indigo, Gumball Green, Very Vanilla
Ink:  Island Indigo, Gumball Green, Crushed Curry
Bigshot: Apothocary Accent Framelits
Tools: Paper Piercing Tool, Paper Piercing Mat, Essentials Paper-Piercing Pack
Accessories: Vintage Trinkets Accents & Elements, Very Vanilla Bakers Twine