Onto my latest creation. I am not sure why but I keep going back to making my own DSP with washi tape. It might be because I do not have any Haloween DSP but I am not sure.
As always, I love the sketch at Freshly Made Sketches and found this card to come fairly easily (easy for me is a couple hours in the craft room while watching netflix....)
Continue to scroll through my post for photos on how to give you the black highlight around the stamped image.

Stampset: Tags 4 You
Paper: Basic Grey, Very Vanilla, Basic Black, Pumpkin Pie
Ink: Pumpkin Pie, Basic Grey, Basic Black
Ink: Pumpkin Pie, Basic Grey, Basic Black
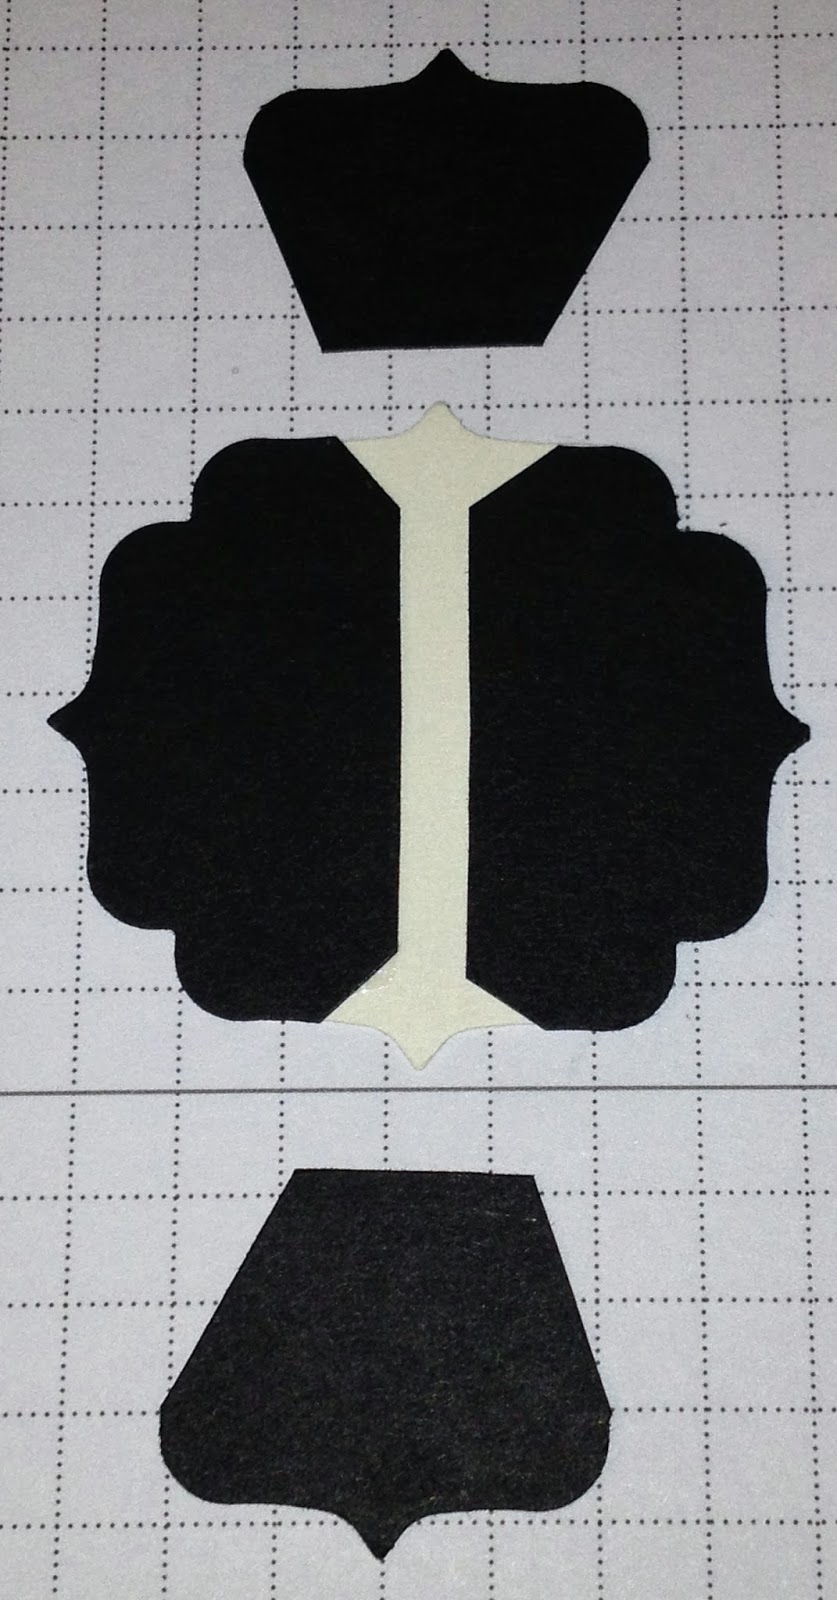
Punches: Label Bracket
Bigshot: Chevron Embossing Folder
Accessories: Witches Brew Designer Washi Tape, 1/8" Mini Brads


Cut both pieces in half and also cut along the dotted lines as pictured above.

I forgot to mention to also cut the small corners as shown by the white lines.
Adhere two pieces to the back of your stamped and punched image spacing out the pieces. Do the same for the other two pieces.

The back of your stamped and punched image should look like this.
What a fun way to use washi tape! And I love the tutorial on how to make the punched background. Thanks for joining us at Freshly Made Sketches this week!
ReplyDeleteI love your handmade "dsp". It is awesome!! And that frame is so great. Glad you joined us this week at FMS!
ReplyDelete